About Me

I am a new empty nester, and I love to make cards and ATCs. I am always looking for ways to use the product I have, to learn new techniques and ways to do things, and most of all, to have fun with the creating of my art.
Showing posts with label DCWV. Show all posts

Friday, June 17, 2011

Baby Cards


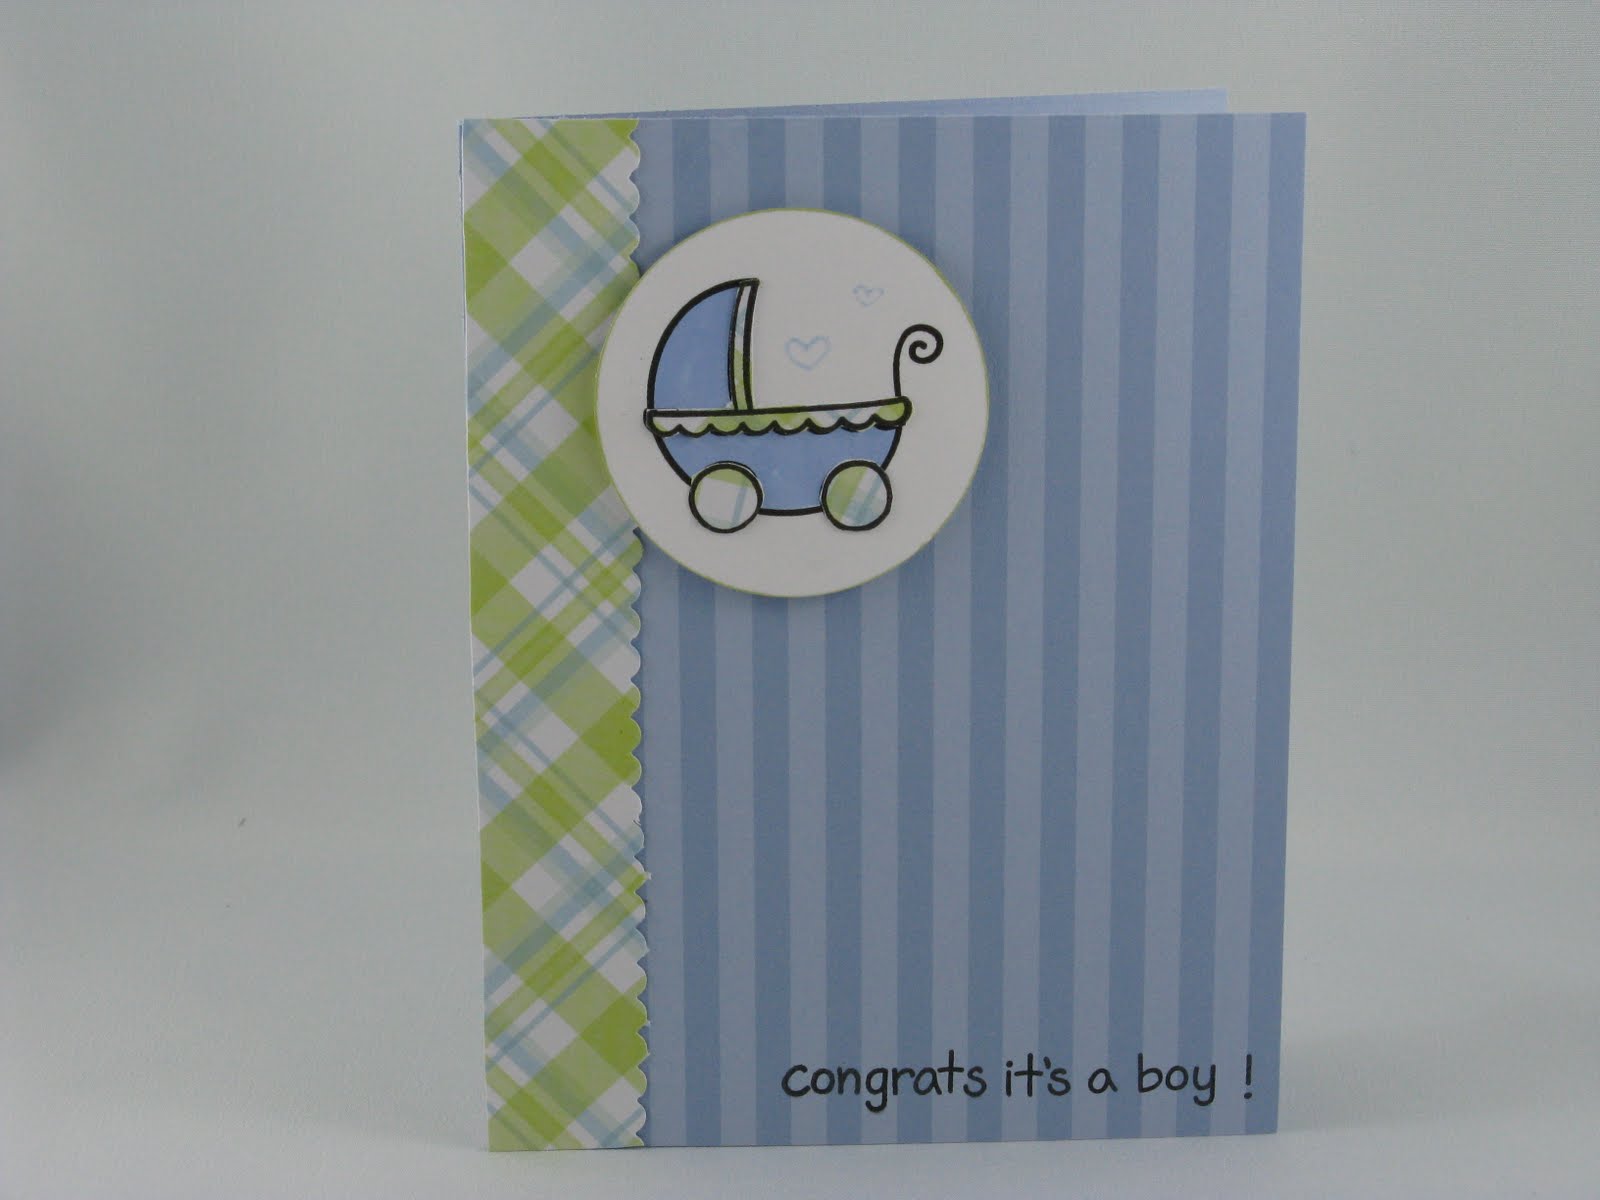
These are the cards that I am doing as a set for my oldest, who has several older friends who are expecting.  I used my all time favourite sketch, and just changed up the images, paper and orientation of the cards.  For the boy cards, I used a blue striped card base, for the girl cards, I used SU Pink Pirouette cardstock as the base.  The images are all LawnFawn, stamped on a 2 inch circle and coloured with markers.  The patterned paper is DCWV "The Blossom Song" stack.  The sentiments are LawnFawn and Inkadinkado.

Monday, May 16, 2011

Publication reject cards


These two cards I did for the PaperCraftsMag Holiday Card issue, with quick and simple cards.  These are easy cards to make, they only took me a bout 5 - 7minutes to make, once the idea in my head.  For the top card, I started with some Cherry Cobbler cardstock (SU), cut, scored and folded to a standard sized card. I rounded all the corners on the cardstock.  Taking some DCWV Luxury Stack cardstock in gold, I cut it to 3.75 x 5 inches for a mat on the base cardstock, again, rounding all the corners.  I used a Quietfire Stamp (When This Christmas) and stamped it on white cardstock in Aged Mahogany Distress Ink.  Using a Marvy 3 inch circle punch, I punched out the sentiment, and edged the circle in Wild Honey ink.  I finished the card by mounting the sentiment on the gold mat with foam tape.

The second card might seem a tad familiar, since I've done this sketch a few times before.  I just really, REALLY, love this sketch.  I started with some So Saffron cardstock (SU) and cut it so the card measured 5.5 x 4 inches ( I trimmed a .25 inch off so that I could get three cards done with one strip of patterned paper).  I used some Susan Wignet Christmas paper (Holly) and cut a 1.5 inch strip off the 12x 12 paper, cutting it at 4 inches, and adhered to the card base.  Next, I took the stamp "Blessed is the Season" (Quietfire Design) and stamped it on the bottom of the card in Forest Moss Distress Ink.  On some scrap white cardstock, I stamped the Ornament stamp (Hero Arts) in Aged Mahogany Distress Ink.  I used a 2 inch circle punch from Marvy to punch out the ornament.  I finished the card by foam mounting the ornament to the cardstock. 

Saturday, May 14, 2011

PDCC81

 This is my entry for the PDCC81.  I used a yellow green, dark purple and silver.  I started by using a limish green card base, cut, scored and folded to a standard sized card.  I had some silver and white DCWV cardstock, cut to 3.75 x 5 inches, embossed with a Craft Concepts Butterfly embossing folder.  To this I inked the raised portions with Dusty Concord Distress Ink, then embossed with clear embossing powder and heat set.  On white cardstock, I had stamped the Penny Black image (letters and flowers) in Dusty Concord Distress Ink, cut to size.  I rounded the right hand corners of the white cardstock, silver cardstock, and card base.  I adhered the silver layer to the card base with Sookwang tape.  I added a bit of sheer white ribbon around the main image (Michaels), and used foam tape to adhere it to the silver layer.

Monday, May 2, 2011

One of my friends got some Craft Concepts Embossing Folders, and I was blessed enough that she ran a few pieces of cardstock through it for me.  This card is the result of one of those run throughs.  I used some DCWV cardstock from "The Four Seasons" pack (it's the Love scrapbook page) and cut it to just under standard cardstock size.   My friend ran it through the "wings" embossing folder (at least I think that's the correct name). I rounded the corners, then I decided to highlight the butterflies by rubbing Tattered Rose Distress Ink all over the raised areas.  Using some SU Victorian crochet lace, and Victorian Velvet Distress Ink, I inked up a piece of the lace, and adhered it to the butterfly layer.  I used another die cut for the flower (or was it a punch?? can't remember) and punched out a flower in pink Bazzil bling. I attached the flower to the card by using a button brad in cream.  To add the sentiment, I took some white cardstock, rubbed it with Tattered Rose Distress Ink,  then stamped the sentiment (Inkadinkado) in Victorian Velvet.  I put the butterfly layer onto the red card base, and I rounded the corners on the red cardstock.

Sunday, May 1, 2011

PDCC79 AND FTL138

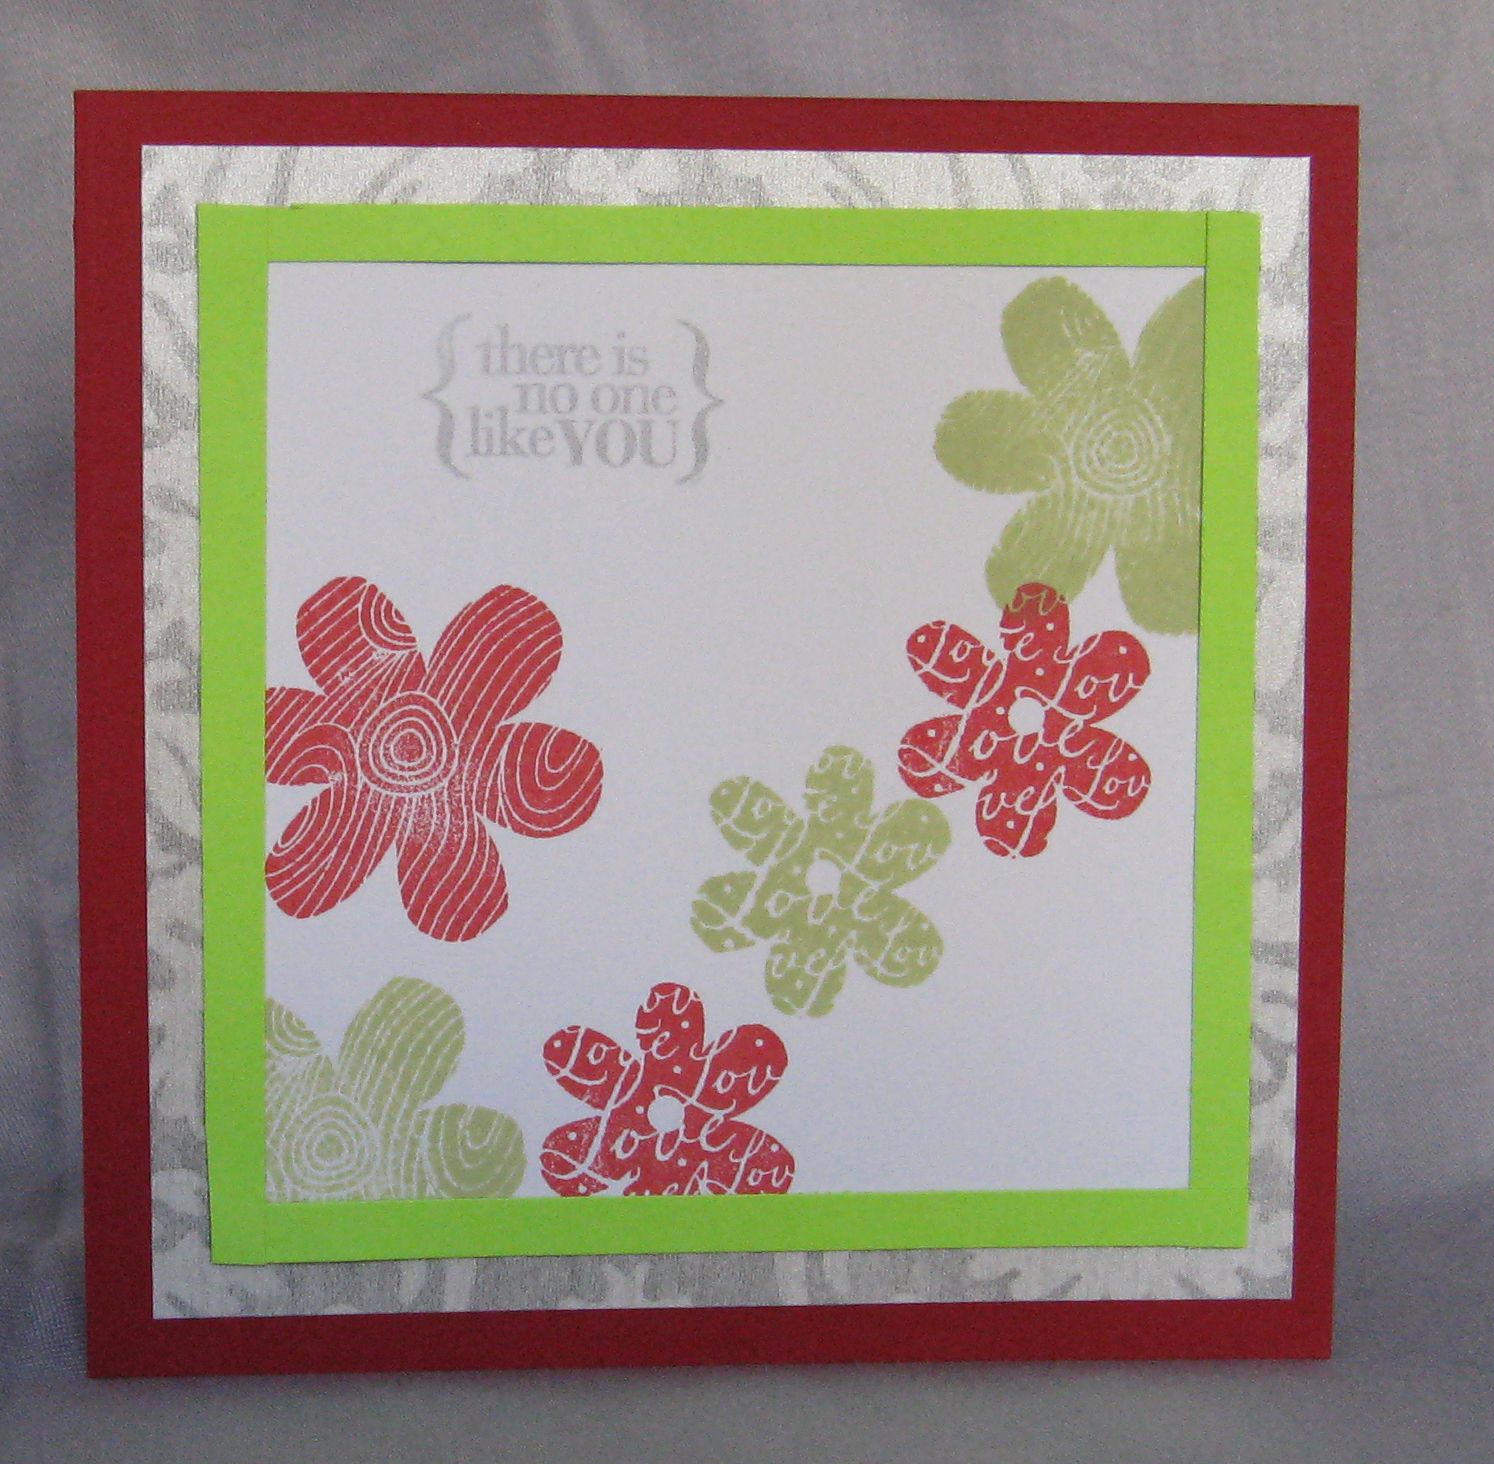
For this card, I combined the Play Date Cafe Challenge 79 and Clean and Simple Stamping FTL 138 challenges.  I used the Play Date Cafe colours ( grey, lime and red) and the sketch from the Clean and Simple blog ( FTL 138).  I started with a 5.5 x 5.5 inch square red cardstock base.  Taking some leftover DCWV silver and white cardstock, I cut it to 5 x 5 inches and layered it on the red cardstock.  I took a 4.5 x4.5 inch piece of white cardstock, and stamped flowers from Hero Arts Printed Flowers set, in Shabby Shutters Distress Ink and Barn Door Distress Ink (the Shabby Shutters was the closest ink I had to lime green), in the pattern on the sketch. Using some Colorbox silver pigment ink, I used the sentiment (Hero Arts)  and stamped it in the area of the sketch.  Once the pigment ink was dry, I took some .25 inch pieces of lime green cardstock, and framed the white cardstock with it.

Make it and Mail it Challenge 1 Card

Lisa Spangler is having a make it and mail it challenge, and here is the card I did.  I also wanted to do the Hero Arts Layering Stamps challenge for April, but I wasn't able to get it photographed and uploaded in time for that challenge. I started with a white card base, cut and scored to a standard sized card.  I took some DCWV LUXURY cardstock in black and white, cut it to being 5.25 x 4 inches, and rounded opposite corners.  With some Cool Caribbean scrap cardstock, I cut it to size and rounded the corners that were opposite to the black cardstock.  Using white cardstock, and Tumbled Glass Distress Ink, I stamped Hero Arts Antique Letter Writing on the cardstock.  I used Versafine Black Onyx ink to over stamp Large Blossom (Hero Arts) on the white cardstock.  I went and rounded the opposite corners again. then layered the stamped panel to the Cool Caribbean panel to the black cardstock panel to the white card base.  To finish the card, I used some Autumn Leaves Chipboard Letters to write "for you" on the card.  This card is the one I am mailing on Monday to my birth mother in Ontario.

Thursday, April 21, 2011

LawnFawn


I got my first set of LawnFawn stamps late last week, and Tuesday was the first day I had to play with it.  I had won the Lunar Lights set,  and I've heard so much good about LawnFawn that I was eager to play with the stamps.

For the butterfly ATC, I was doing a Oh Canada! theme, and the flourish and butterfly stamp are Quietfire Design.  However, I didn't have a Quietfire stamp that was short enough (height wise) to fit in the space for the sentiment, so I used LawnFawn's "Shine Brightly" sentiment from the Lunar Lights set.. Let me tell you, I was very impressed with the clear, crisp impression of the LawnFawn
stamp.  I did wonder if I was just lucky, or if it was really as great as the first stamping.  I didn't take long to find out.

For the second ATC, I was making my Christmas ATCs, and I wanted to paper piece my present.  I took the box from Lunar Lights, and stamped it on patterned paper.  It stamped like a dream.  And the bow that came with the Lunar Lights set did well too.  Safe to say, I'll be buying more LawnFawn in the future. With this ATC, I stamped the star from Hero Arts in Shabby Shutters Distress Ink randomly over the grey/beige cardstock.  I layered a piece of DCWV cardstock from "The Four Seasons" over top, then I foam mounted my paper pieced present on the snowflake cardstock.  I stamped "Noel" (Unknown company) in the bottom right hand corner.

Monday, February 14, 2011

A Tribute to Love

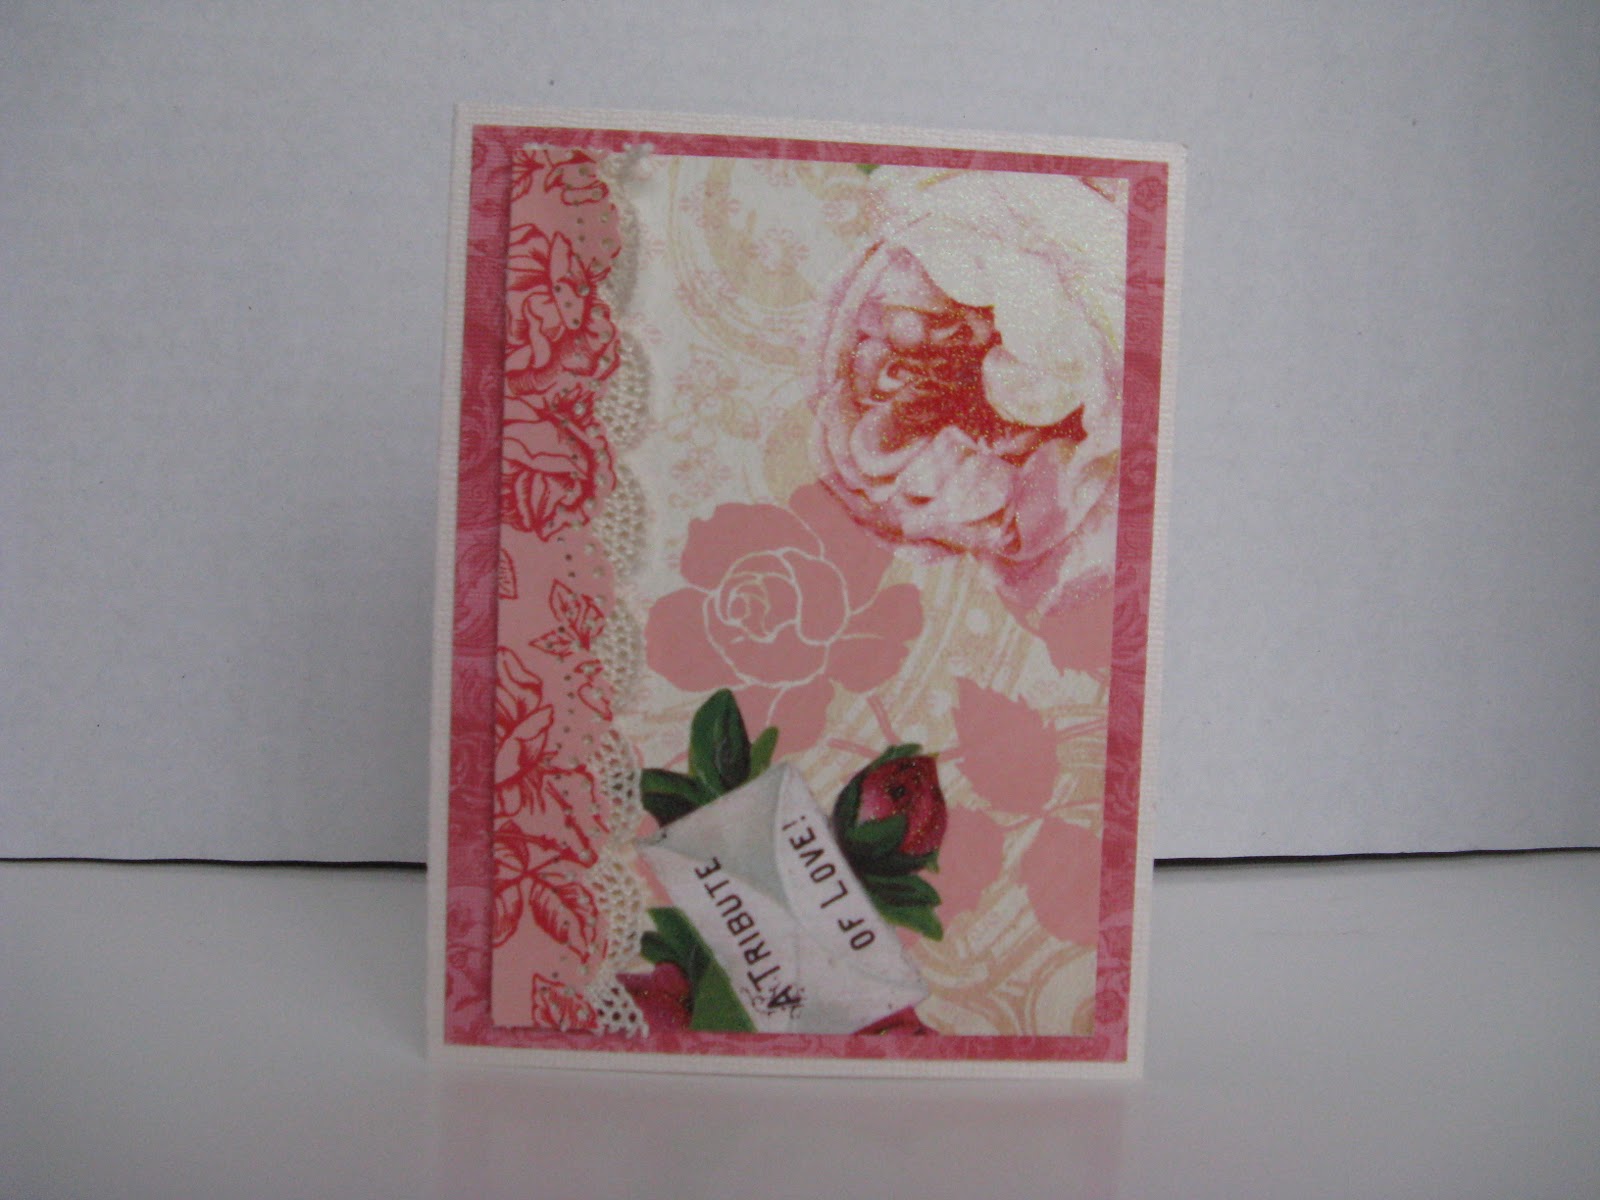
This card is another card I did with the DCWV scrapbook paper that was so romantic.  This time, I took a 3 3/4 x 5 piece that had a rose, and an envelope that says "A Tribute to Love" on it.  I took a 1 x 5 inch piece of coordinating patterned paper, and used the MS doily edge punch to punch the edge.  I also added some cream lace below the punched paper.  I then layered it on the a slightly bigger coordinating paper, then I layered it onto cream bling cardstock.